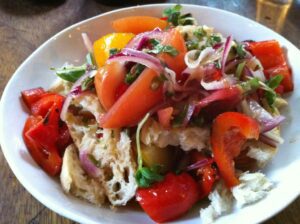
Summer Panzanella with Squash
Savor the vibrant flavors of summer with a delightful Summer Panzanella featuring freshly harvested pattypan squash. This garden-to-table recipe celebrates...
Read More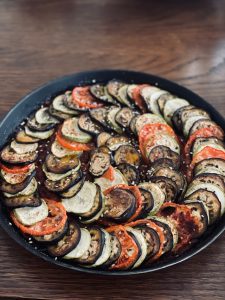
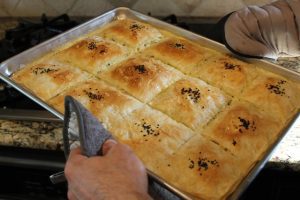
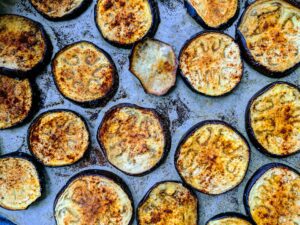
Ratatouille Slab Pie
Discover the rustic charm of our ratatouille slab pie, a flavorful twist on a classic dish. Layers of vibrant vegetables,...
Read More
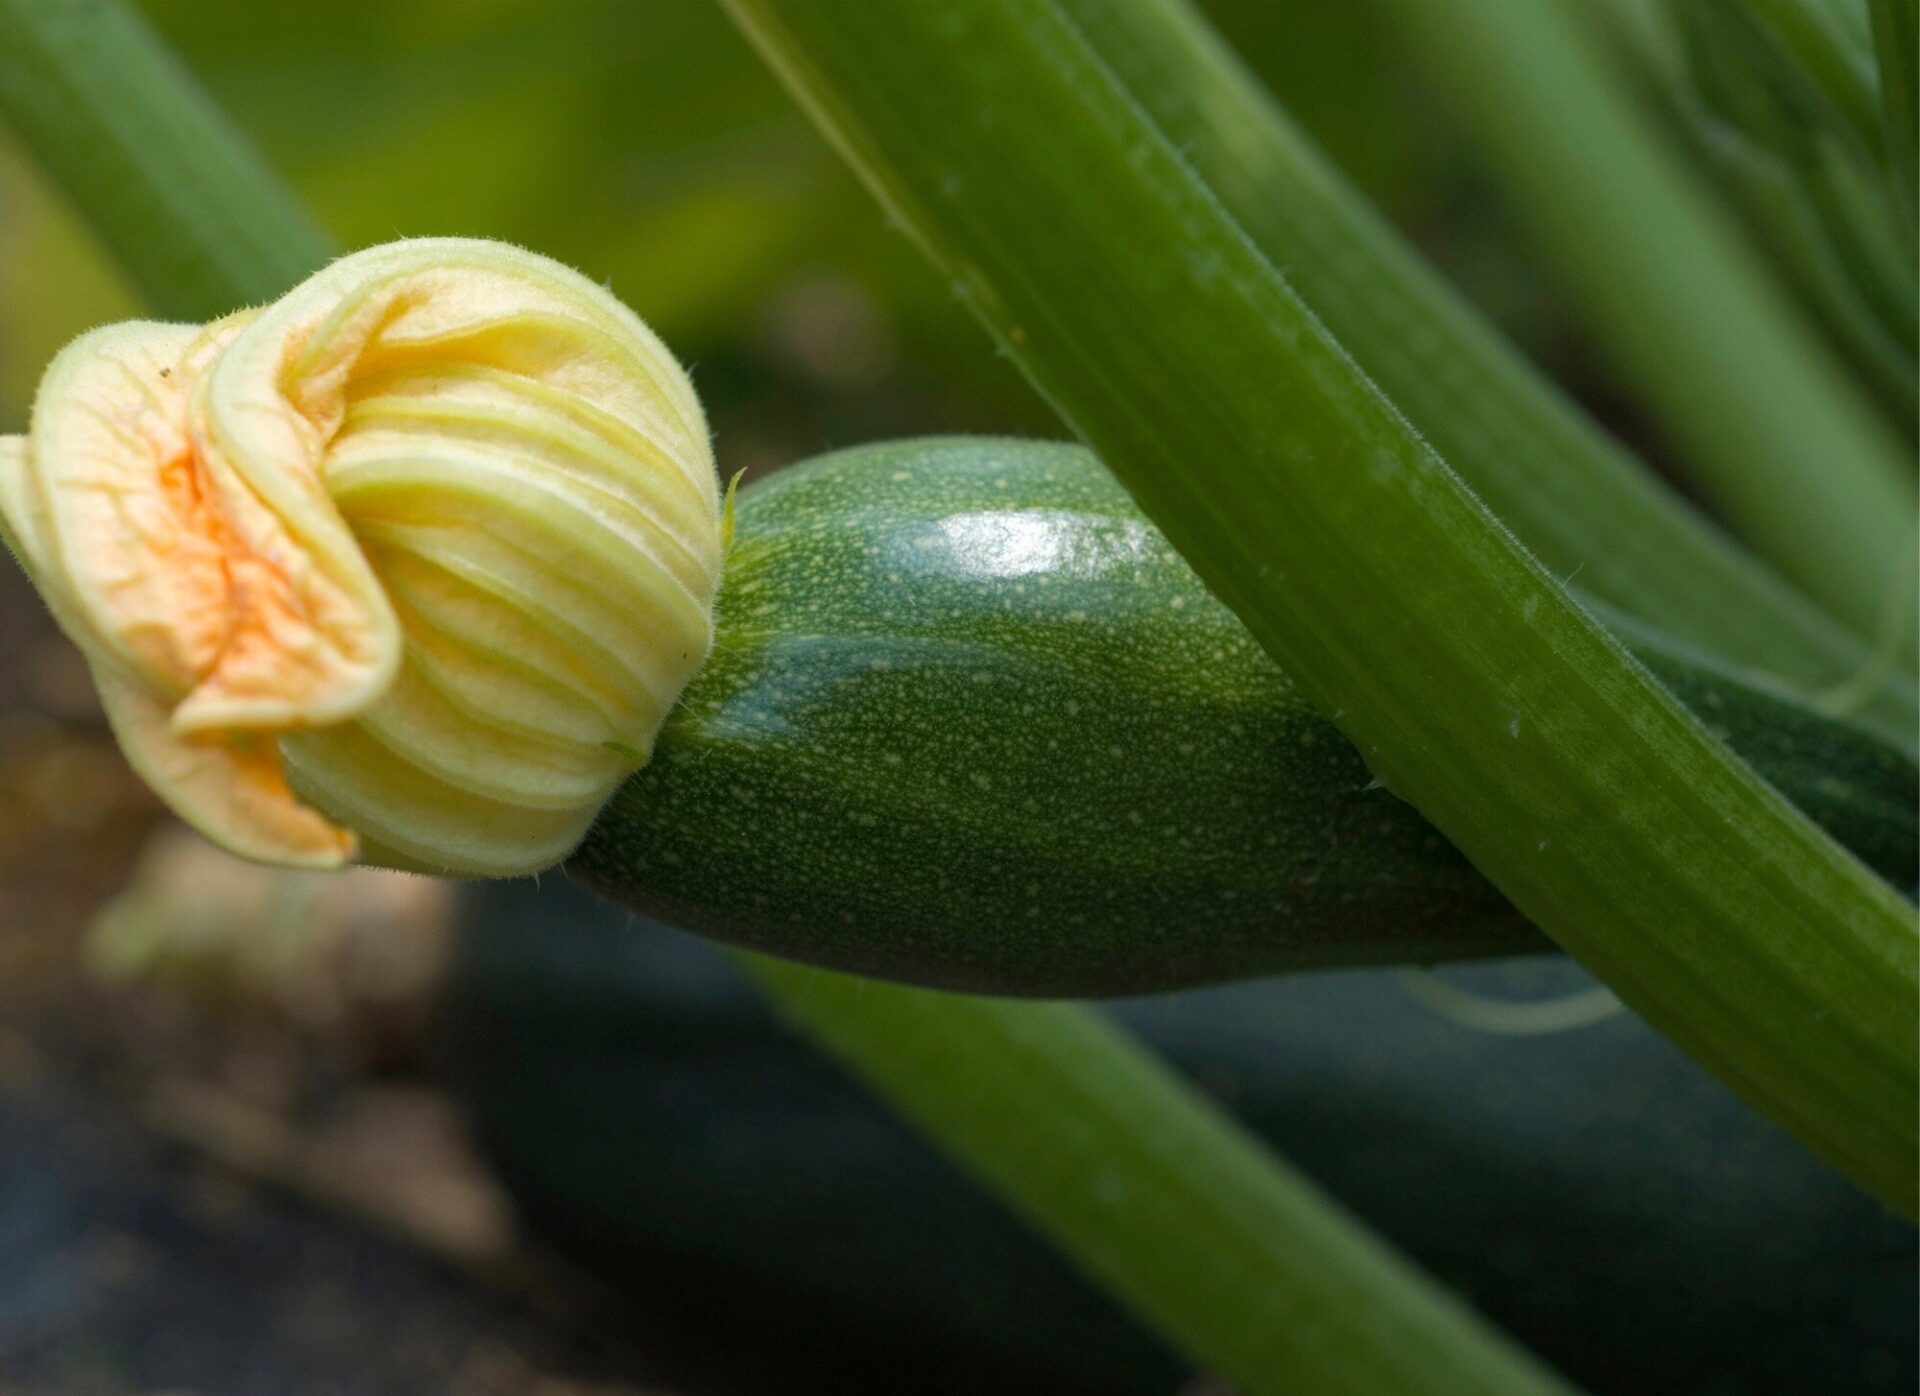
Chocolate Zucchini Cupcakes with Chocolate Cream Cheese Frosting
Experience the decadence of our chocolate zucchini cupcakes, a delightful treat that balances richness and freshness. Moist and chocolaty, each...
Read More