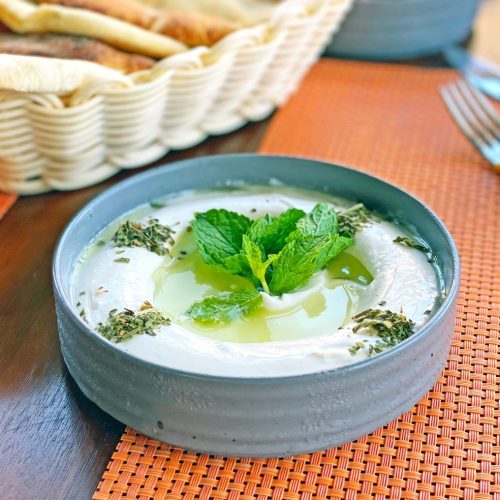
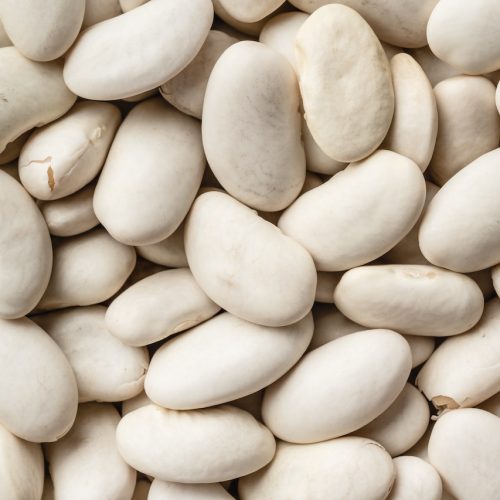
White bean and turnip salad with roasted garlic scapes is a refreshing and flavorful dish that combines the creaminess of white beans, the crispness of turnips, and the unique taste of roasted garlic scapes. With a handful of ingredients and simple assembly, you can create a delightful salad that is both satisfying and vibrant. The creamy white beans, crunchy turnips, and charred garlic scapes come together in a harmonious blend of textures and flavors. Whether enjoyed as a refreshing side dish or a light lunch, this salad offers a delightful balance of tastes that will tantalize your taste buds.
White Bean and Turnip Salad with Roasted Garlic Scapes
White bean and turnip salad with roasted garlic scapes is a refreshing and flavorful dish that combines the creaminess of white beans, the crispness of turnips, and the unique taste of roasted garlic scapes.
Ingredients
- 6 Hakurei turnips
- 12 garlic scapes
- 1.5 cups white beans (about 1 can)
- 1/2 cup baby arugula
- 1/4 cup finely chopped parsley
- 1/4 cup slivered almonds
- 1 lemon (juice of)
- 1 Tbsp olive oil
- 1 tsp chopped fresh thyme
- Salt and pepper (to taste)
Instructions
- Preheat the oven to 375°F (190°C). Place the garlic scapes on a baking sheet anddrizzle with olive oil and season with salt and pepper.
- Bake for 10 minutes, flip, and bake for another 10-15 minutes.
- Let your roasted garlic scapes cool for a coupleminutes until they can be handled, and chop off any parts that have become overlycrispy.
- Cut the remaining scapes into pieces, and place them in a bowl. Add the beans,drained and rinsed if using canned. Add the arugula, chopped a little if the leavesare larger, parsley, almonds, lemon juice, olive oil, and fresh thyme. Toss, and serveright away or chill until serving
Notes
This recipe came from the Very Vegan Val blog.