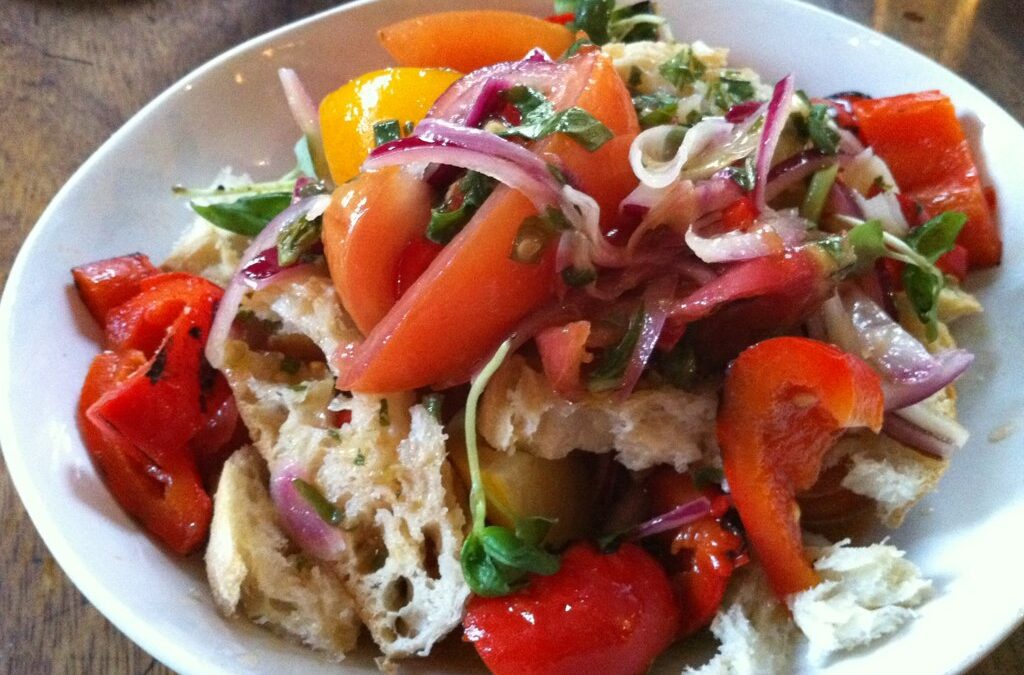
by Founder | Jul 2, 2024 | Recipes
Savor the vibrant flavors of summer with a delightful Summer Panzanella featuring freshly harvested pattypan squash. This garden-to-table recipe celebrates the peak of the season, combining sun-ripened tomatoes, crisp cucumbers, and aromatic basil with the unique,...
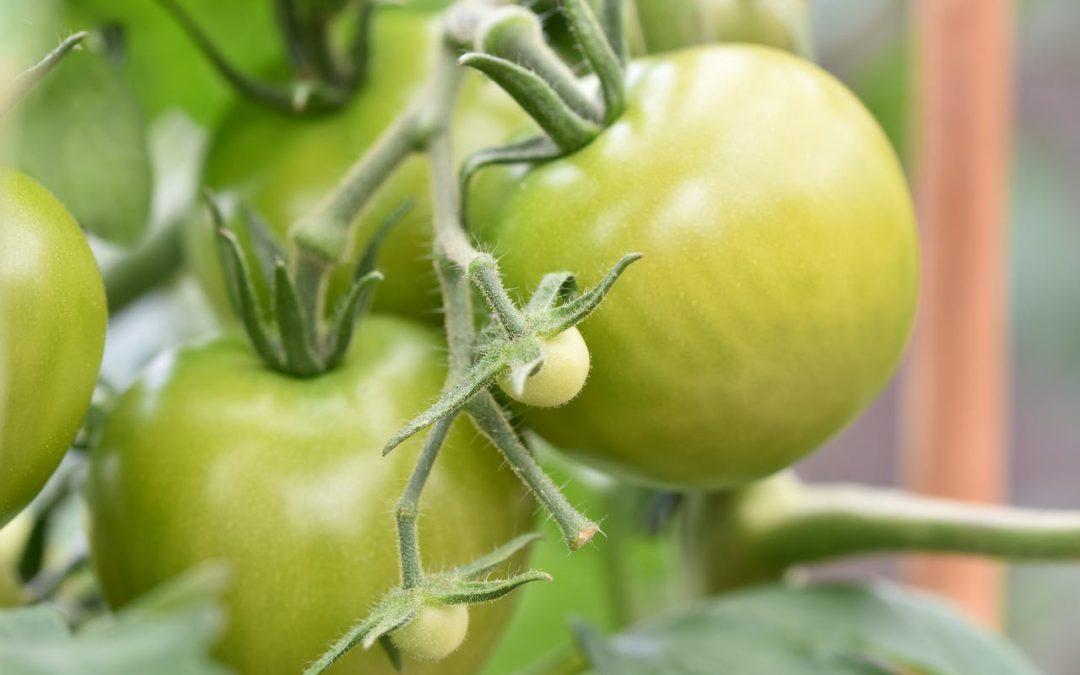
by Founder | Oct 25, 2023 | Recipes
Crafting your own pickled green tomatoes is a straightforward, yet incredibly satisfying, endeavor. This method keeps their natural crunch and tanginess intact, resulting in a versatile condiment that pairs wonderfully with various dishes. But there’s more to it...
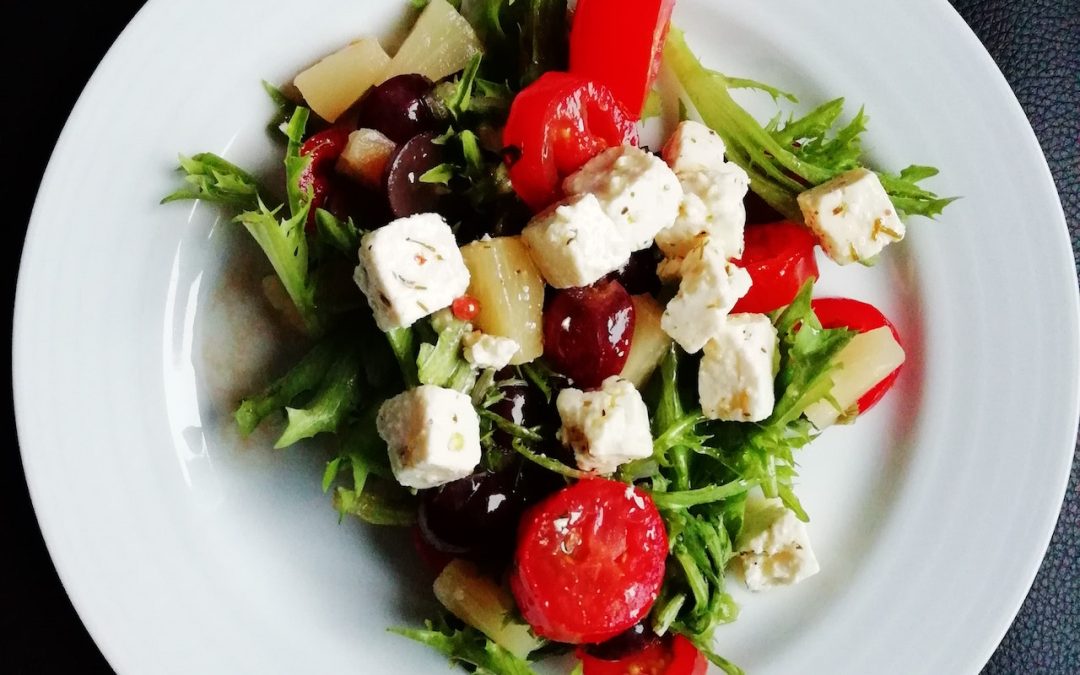
by Founder | Jul 26, 2023 | Recipes
Greek salad is a refreshing and flavorful dish that combines the vibrant flavors of fresh vegetables with the tanginess of feta cheese and the richness of Kalamata olives. With minimal ingredients and simple assembly, you can create a delightful salad that is both...
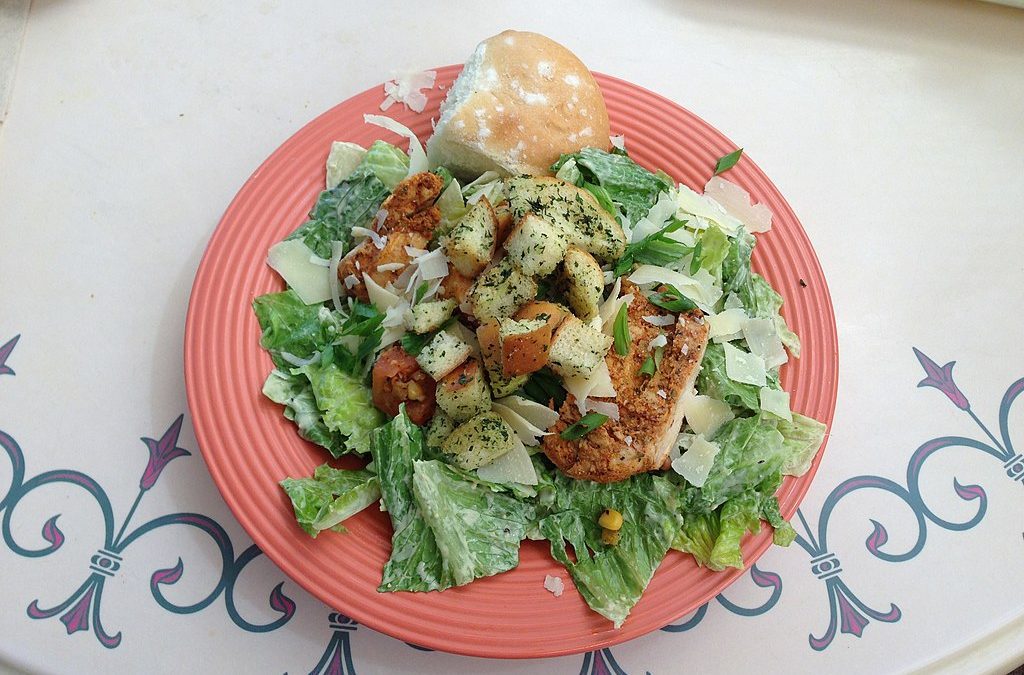
by Founder | Jul 5, 2023 | Recipes
Chicken Caesar salad with grilled romaine is a flavorful and satisfying dish that combines the smokiness of grilled romaine lettuce with the savory goodness of chicken and the classic flavors of Caesar dressing. With minimal ingredients and simple preparation, you can...
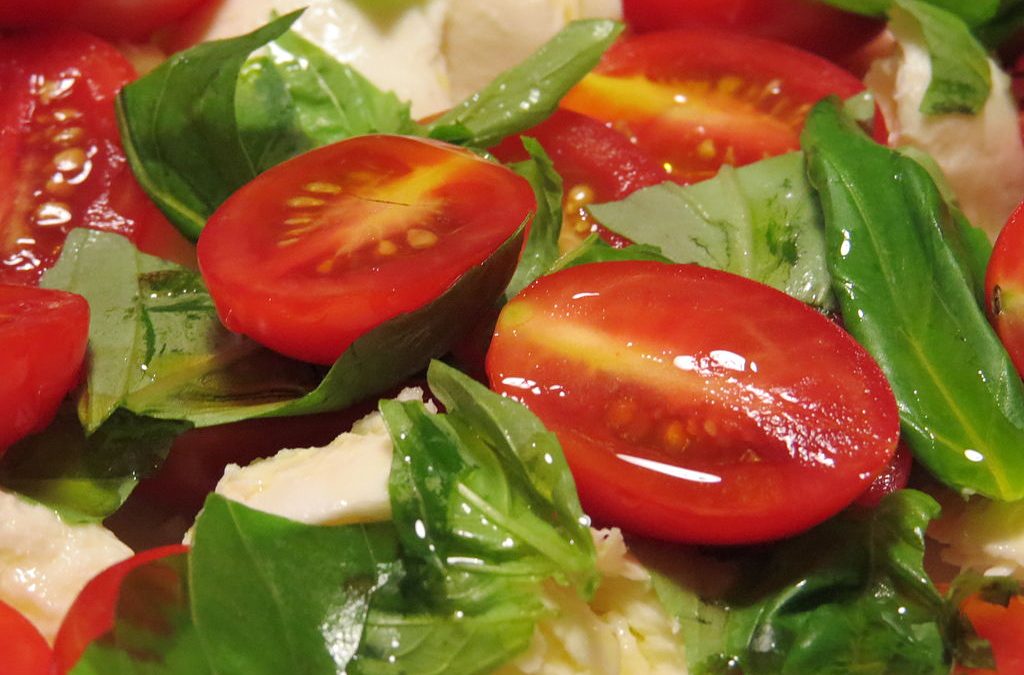
by Founder | Jul 5, 2023 | Recipes
Roasted cherry tomato Caprese is a delightful twist on the classic salad, featuring rich flavors from roasted cherry tomatoes. With minimal ingredients, it creates a visually appealing and delicious dish. The combination of sweet tomatoes, creamy mozzarella, and fresh...
