Discover the rustic charm of our ratatouille slab pie, a flavorful twist on a classic dish. Layers of vibrant vegetables, including zucchini, eggplant, and bell peppers, are nestled in a buttery crust, creating a savory symphony of flavors. Perfect for sharing with loved ones or as a centerpiece for gatherings, this hearty pie celebrates the abundance of summer harvests in every bite.
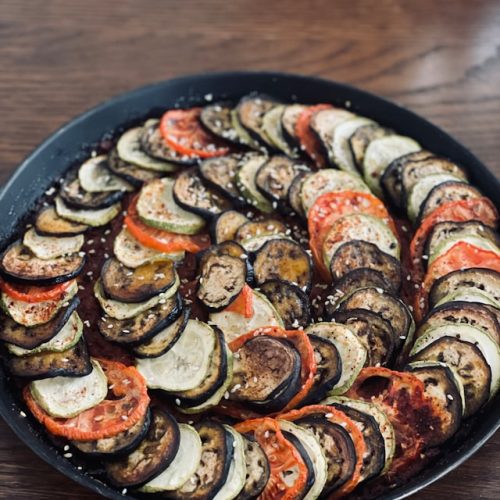
Ratatouille Slab Pie
Indulge in the rustic charm of Ratatouille Slab Pie, where layers of vibrant vegetables including tomatoes, zucchini, eggplant, and bell peppers are nestled within a flaky pastry crust. This hearty dish offers a symphony of flavors and textures, celebrating the bounty of summer produce in every delicious bite.
Ingredients
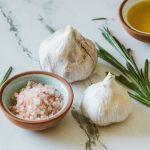
- 1 medium garlic head top 1/2" cut off and discarded
- 7.5 Tbsp olive oil divided
- 2 medium eggplants unpeeled, cut into 1/2" pieces (about 8.5 cups)
- 3 medium-size yellow squash cut into 1/2" pieces (about 6 cups)
- 3 medium zucchini cut into 1/2" pieces (about 5 cups)
- 2 Tbsp kosher salt divided, plus more to taste
- 2.75 tsp black pepper divided, plus more to taste
- 1 large yellow onion finely chopped (about 2.5 cups)
- 1 large red or yellow bell pepper finely chopped (about 1.25 cups)
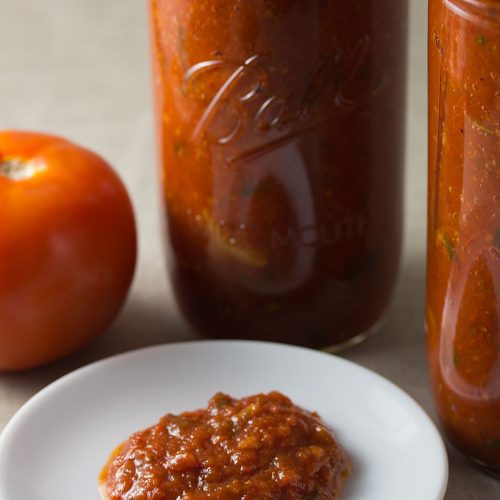
- 2 14.5oz cans petite diced tomatoes, undrained
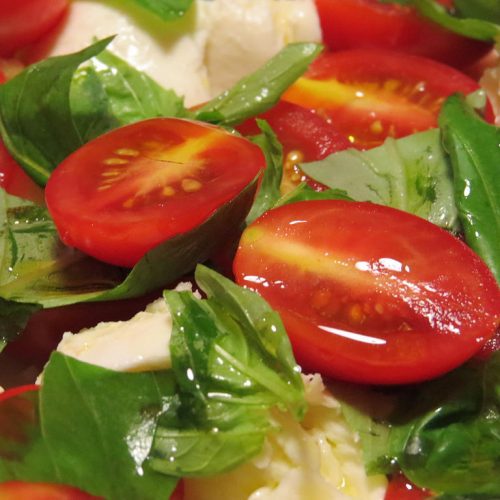
- 3 Tbsp chopped fresh basil
- 2 tsp chopped fresh thyme
- 1 tsp crushed red pepper
- 5 batches All-Purpose Pie Dough (recipe p. 83) shaped into 2 squares and chilled
- All-purpose flour for work surface
- 1 large egg beaten
Instructions
- Place oven racks in top third and lower third of oven. Place a large baking stone on lower rack; leave in oven throughout recipe preparation. Preheat oven to 400°F. Drizzle cut side of garlic head with 1/2 Tbsp oil; wrap tightly in aluminum foil. Bake garlic in preheated oven on top rack until garlic cloves are softened, about 45 minutes. Unwrap foil, and set garlic aside.
- Toss together eggplant, squash, zucchini, 5 Tbsp oil, 4 tsp salt, and 2 tsp black pepper in a large bowl. Divide mixture evenly between 2 rimmed baking sheets, and spread into a single layer. Place baking sheets on top and bottom oven racks. Bake at 400°F until vegetables are just tender, 15-20 minutes, rotating baking sheets after 10 minutes. Set aside to cool for 15 minutes.
- Heat remaining 2 Tbsp oil in a large Dutch oven over medium heat. Add onion, bell pepper, remaining 2 tsp salt, and remaining 3/4 tsp black pepper; cook, stirring occasionally, until onion mixture is softened, about 10 minutes. Squeeze roasted garlic head to release cloves. Add garlic cloves and tomatoes to onion mixture. Cook, stirring occasionally, until mixture has thickened slightly and tomato juices have mostly evaporated, about 12 minutes. Remove from heat. Stir in basil, thyme, crushed red pepper, and roasted vegetables. Season to taste with salt and black pepper, and let cool completely, about 1 hour.
- Unwrap 1 chilled pie dough square, and place on a lightly floured work surface; roll into a 24x16" rectangle (about 1/8" thick). Fit dough into a 18x13" rimmed baking sheet (or half sheet pan), allowing excess dough to hang over edges. Trim dough overhang to 1"; discard scraps. Chill, uncovered, at least 15 minutes or up to 1 hour.
- Unwrap remaining chilled dough square, and roll into a 24x16" rectangle. Cut lengthwise into 1" wide strips. Spread vegetable filling in an even layer in chilled pie shell in baking sheet. Brush edges of dough lightly with some of the beaten egg. Arrange dough strips in a lattice pattern on top of filling, leaving about 1/2" between strips. Trim dough strip overhang to 1", using some of the trimmed longer strips to complete the lattice pattern as needed. Fold bottom dough overhang and lattice strip underhang under, and gently press together on pan edges. Freeze pie, uncovered, 20 minutes. Reduce oven temperature to 375°F.
- Brush dough lightly with remaining beaten egg. Bake pie on bottom oven rack on top of preheated backing stone until crush is golden brown and filling is bubbly, 1 hour to 1 hour and 15 minutes. Transfer pie to a wire rack. Let cool at least 30 minutes before slicing. Serve warm or at room temperature.
Notes
Note: Filling can be made up to 3 days in advance. Pie dough can be chilled up to 3 days.
This recipe by Kristen Farmer Hall was published in the August 2020 issue of Food & Wine.
This favorite recipe was contributed by a Backyard Eats client! She encourages home cooks to substitute ingredients as needed based their lifestyle or what's growing fresh in their garden.