

Dill-pickled green beans are a tangy and crunchy treat that showcases the natural freshness of green beans with the delightful flavor of dill. With minimal ingredients and simple preparation, you can create a homemade batch of pickled green beans that is both flavorful and versatile. The combination of the crisp green beans and the aromatic dill creates a delightful balance of textures and tastes. Whether enjoyed as a refreshing snack, a flavorful addition to salads, or a tangy accompaniment to sandwiches, dill-pickled green beans offer a burst of flavor that will tantalize your taste buds. Embrace the ease of making these pickles at home and savor their deliciousness with every crunchy bite.
Pickled Dilly Beans (Dill-Pickled Green Beans)
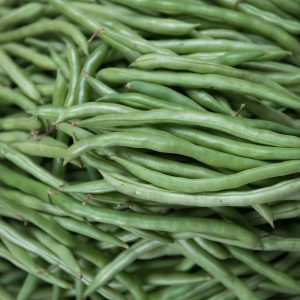
Dill-pickled green beans are a tangy and crunchy treat that showcases the natural freshness of green beans with the delightful flavor of dill.
Equipment
- Canning jars with lids and bands
- Water bath canner
Ingredients
- 2 lb green beans (ends trimmed)
- 2.5 cups vinegar (5% acidity)
- 1 cup water
- 3 Tbsp canning salt
- 3/4 tsp crushed red pepper flakes
- 6 sprigs fresh dill
- 3-6 cloves garlic (peeled)
Instructions
- Wash beans and trim the stem ends. Trim both ends if you like uniformity, but the tail end is the tender end so you can leave it intact. I start by measuring one bean to 1 inch below jar height, and then cut them all to the same length so they pack well into the jar.
- Pack the green beans into wide mouth pint jars and top each jar with 1/4 tsp. red pepper flakes, 2 dill sprigs and 1-2 garlic cloves. Be sure to leave just over 1/2 inch headspace.
- Combine vinegar, water and canning salt and bring to a boil on the stove to make a hot brine. Pour the hot brine over the beans in jars, leaving 1/2 inch headspace.
- Seal the jars with new canning lids, tighten on bands, and process in a water bath canner for 10 minutes adjusting for altitude.
- Remove the jars from the canner and allow to stand at room temperature for a few hours until they've "popped" and completely sealed. Store any unsealed jars in the fridge and use immediately.
- For sealed jars, remove the canning bands and store in the pantry at room temperature.
Notes
This recipe is from Ashley Adamant at Creative Canning.