
by Founder | Oct 21, 2024 | Recipes
This Slow-Roasted Oregano Chicken with Buttered Tomatoes is a delicious, herb-forward dish perfect for showcasing tomatoes at any stage of the season. Juicy chicken is slowly roasted with fragrant oregano and garlic, resulting in a rich, savory meal where the chicken...
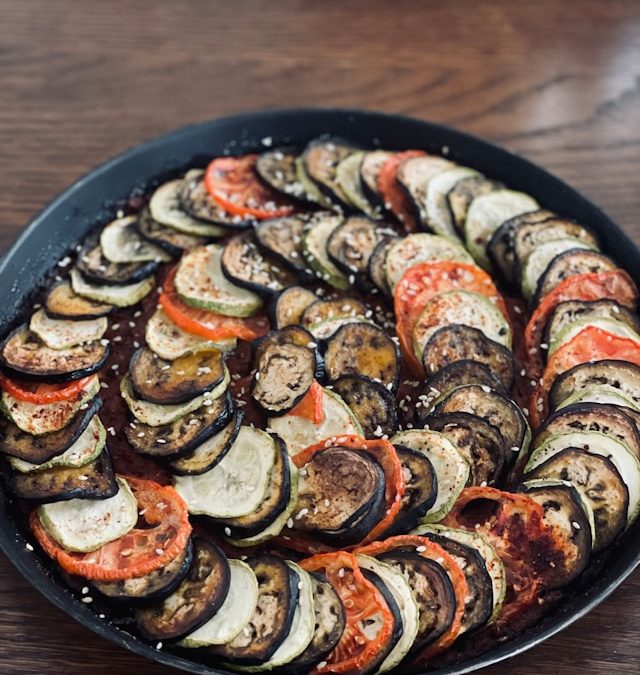
by Founder | Mar 19, 2024 | Recipes
Discover the rustic charm of our ratatouille slab pie, a flavorful twist on a classic dish. Layers of vibrant vegetables, including zucchini, eggplant, and bell peppers, are nestled in a buttery crust, creating a savory symphony of flavors. Perfect for sharing with...
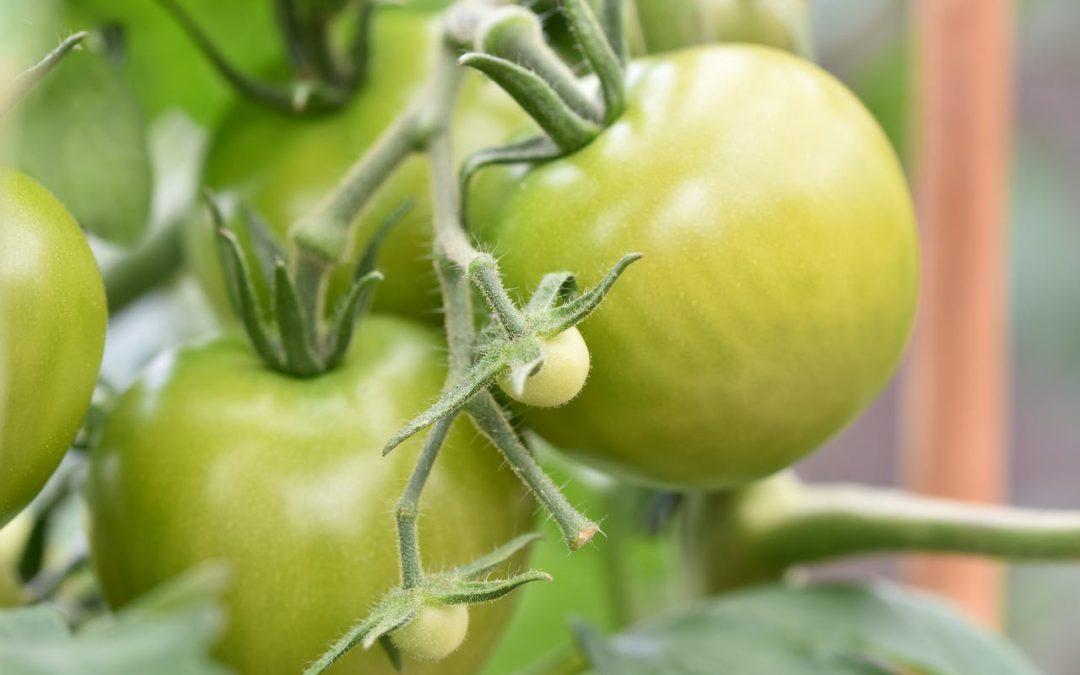
by Founder | Oct 25, 2023 | Recipes
Crafting your own pickled green tomatoes is a straightforward, yet incredibly satisfying, endeavor. This method keeps their natural crunch and tanginess intact, resulting in a versatile condiment that pairs wonderfully with various dishes. But there’s more to it...
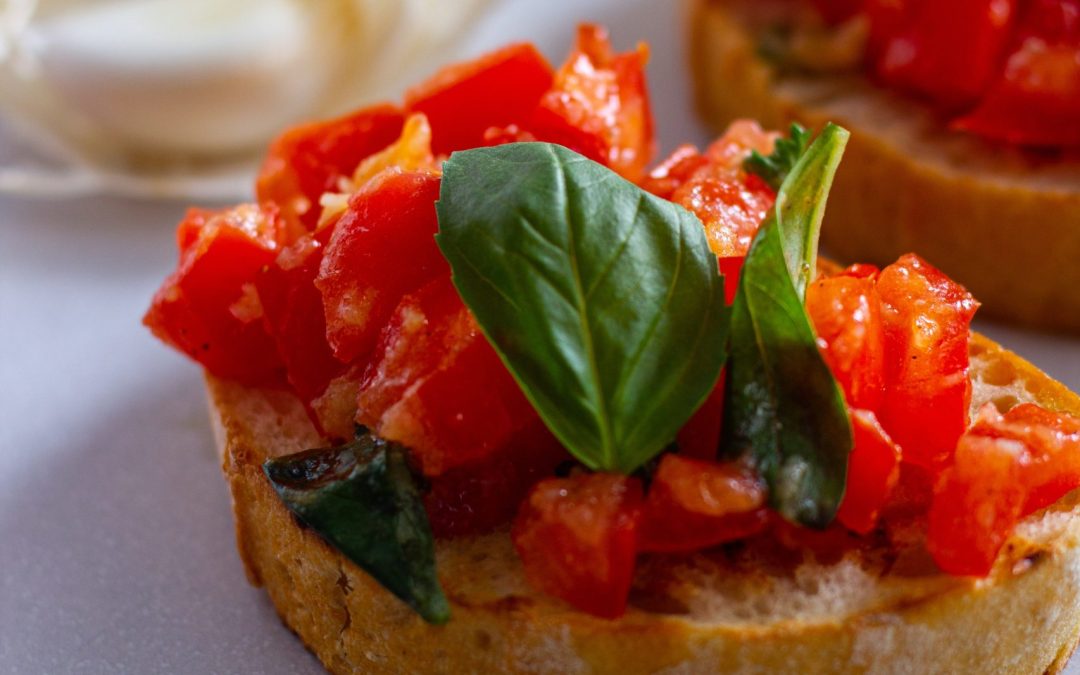
by Founder | Sep 25, 2023 | Recipes
Crafting heirloom tomato bruschetta is both effortless and gratifying when using the freshest ingredients. The simplicity of this recipe allows the natural flavors to shine, turning humble ingredients into a burst of vibrant taste. Beyond its culinary pleasures,...
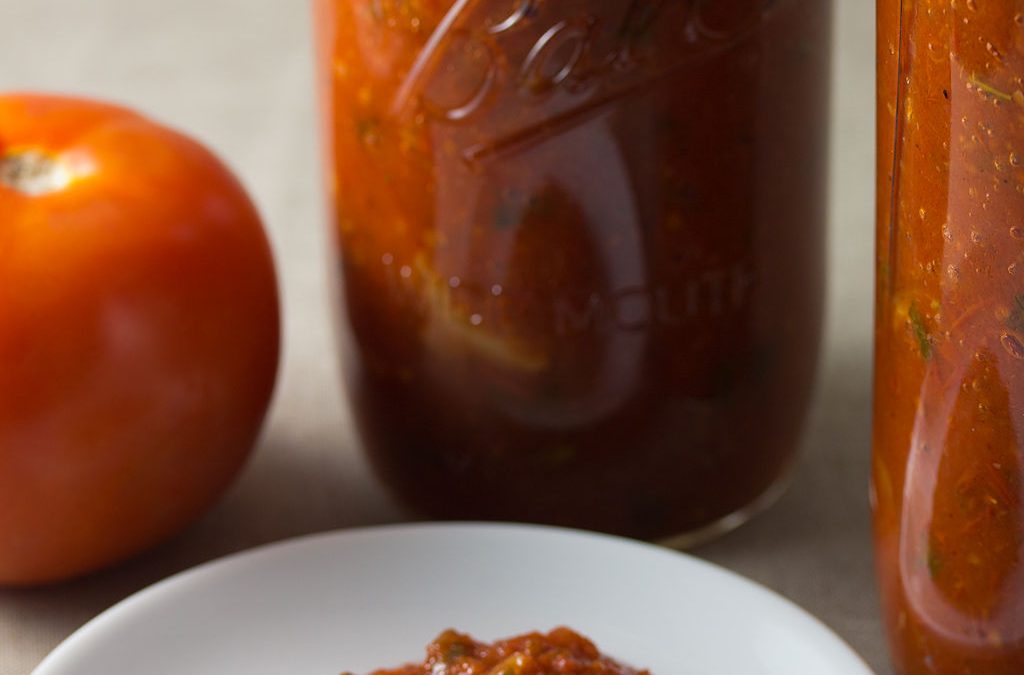
by Founder | Sep 13, 2023 | Recipes
A cherished family heirloom, this tomato sauce recipe has been passed down through generations, carrying with it the essence of tradition and the flavors of simplicity. With just a handful of carefully selected ingredients, you can create a tomato sauce that is rich...
