
Vegetarian 5-Bean Soup Mix
This vegetarian soup mix combines layers of pinto, black, and kidney beans with split peas and northern beans, creating a...
Read More
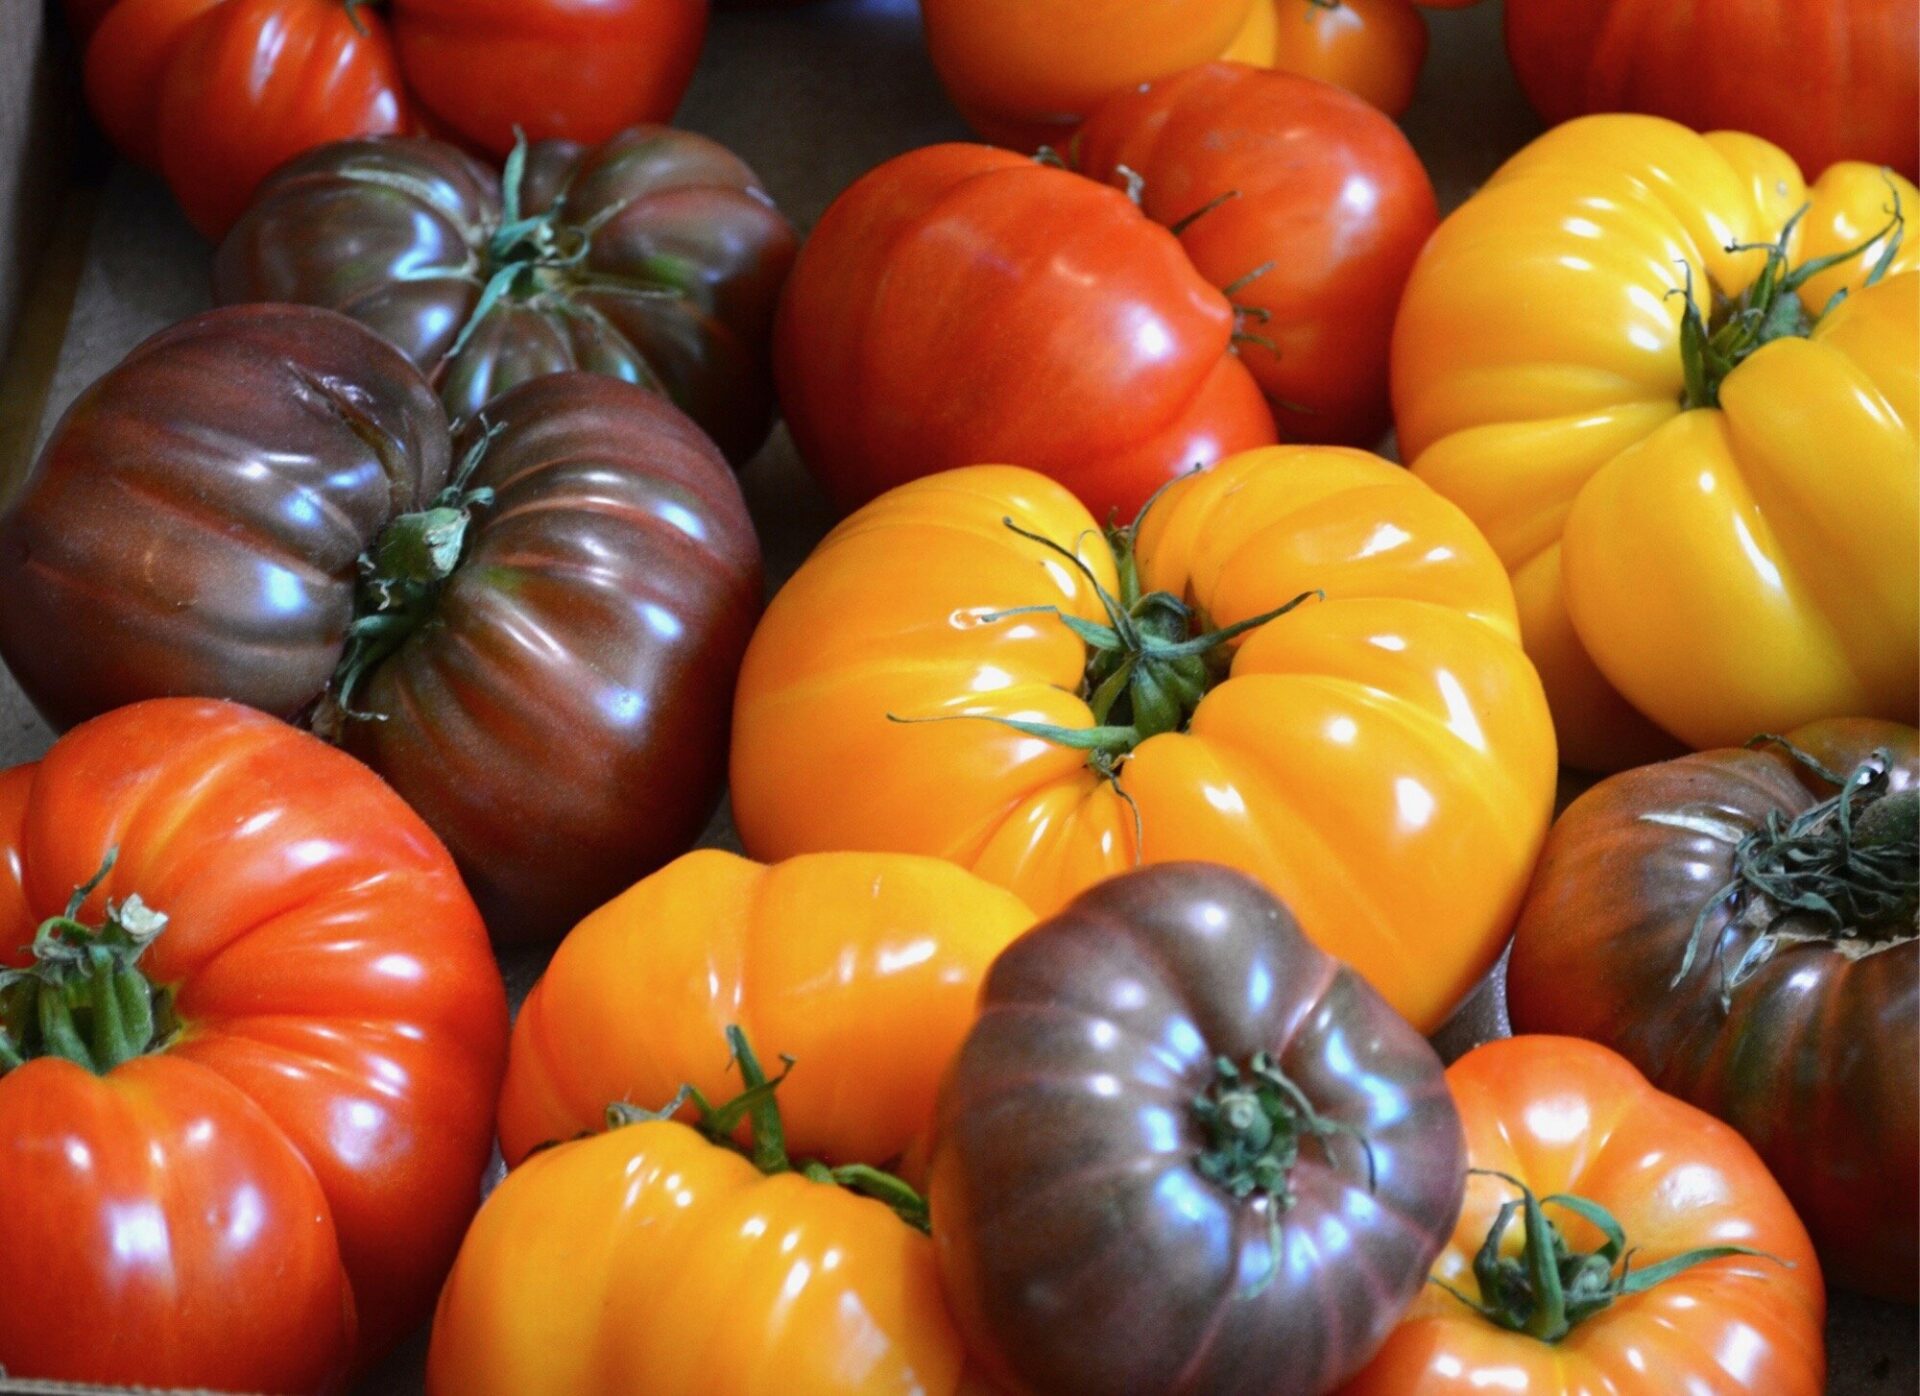
Slow-Roasted Oregano Chicken With Buttered Tomatoes
This Slow-Roasted Oregano Chicken with Buttered Tomatoes is a delicious, herb-forward dish perfect for showcasing tomatoes at any stage of...
Read More
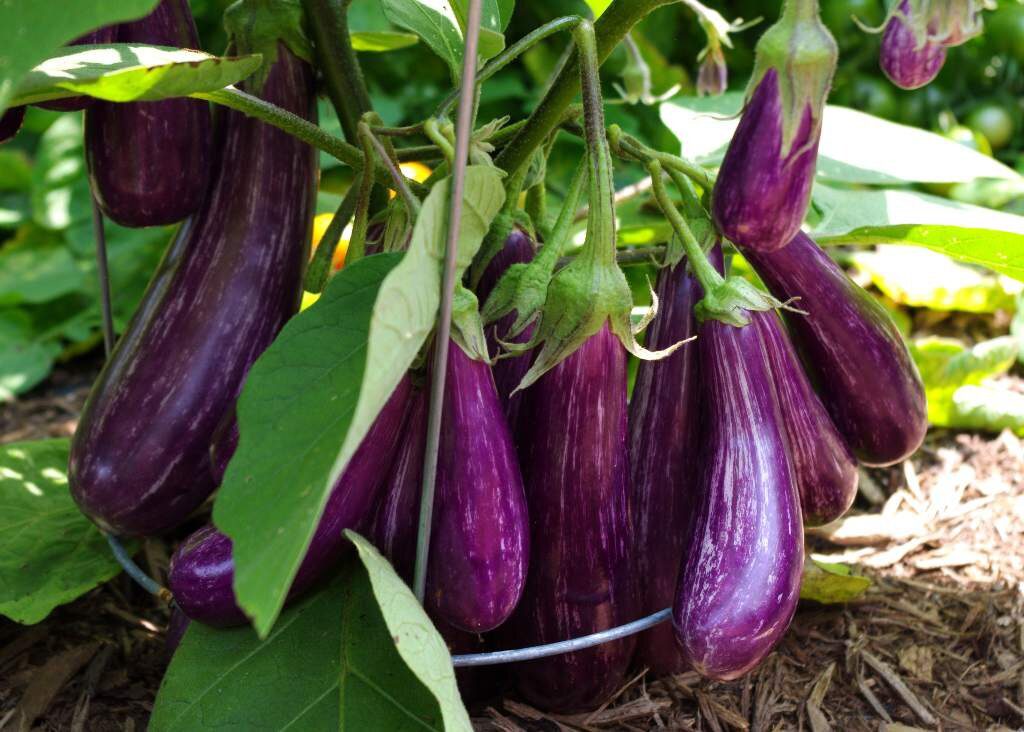
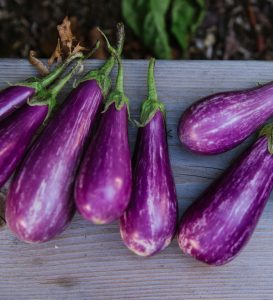
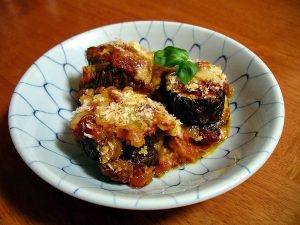
Garlicky Eggplant
Garlicky eggplant is a savory dish featuring tender eggplant slices sautéed with garlic and herbs, offering a rich and...
Read More