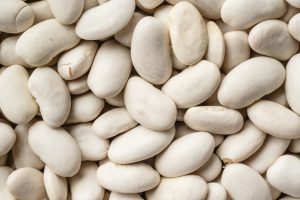
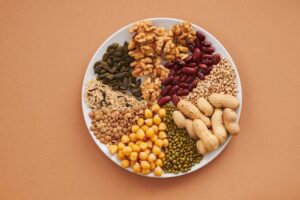
Vegetarian 5-Bean Soup Mix
This vegetarian soup mix combines layers of pinto, black, and kidney beans with split peas and northern beans, creating a...
Read More
Peach Red Pepper Salsa
Peach and red pepper salsa is a vibrant and refreshing mix of juicy peaches, sweet red peppers, and a hint...
Read More
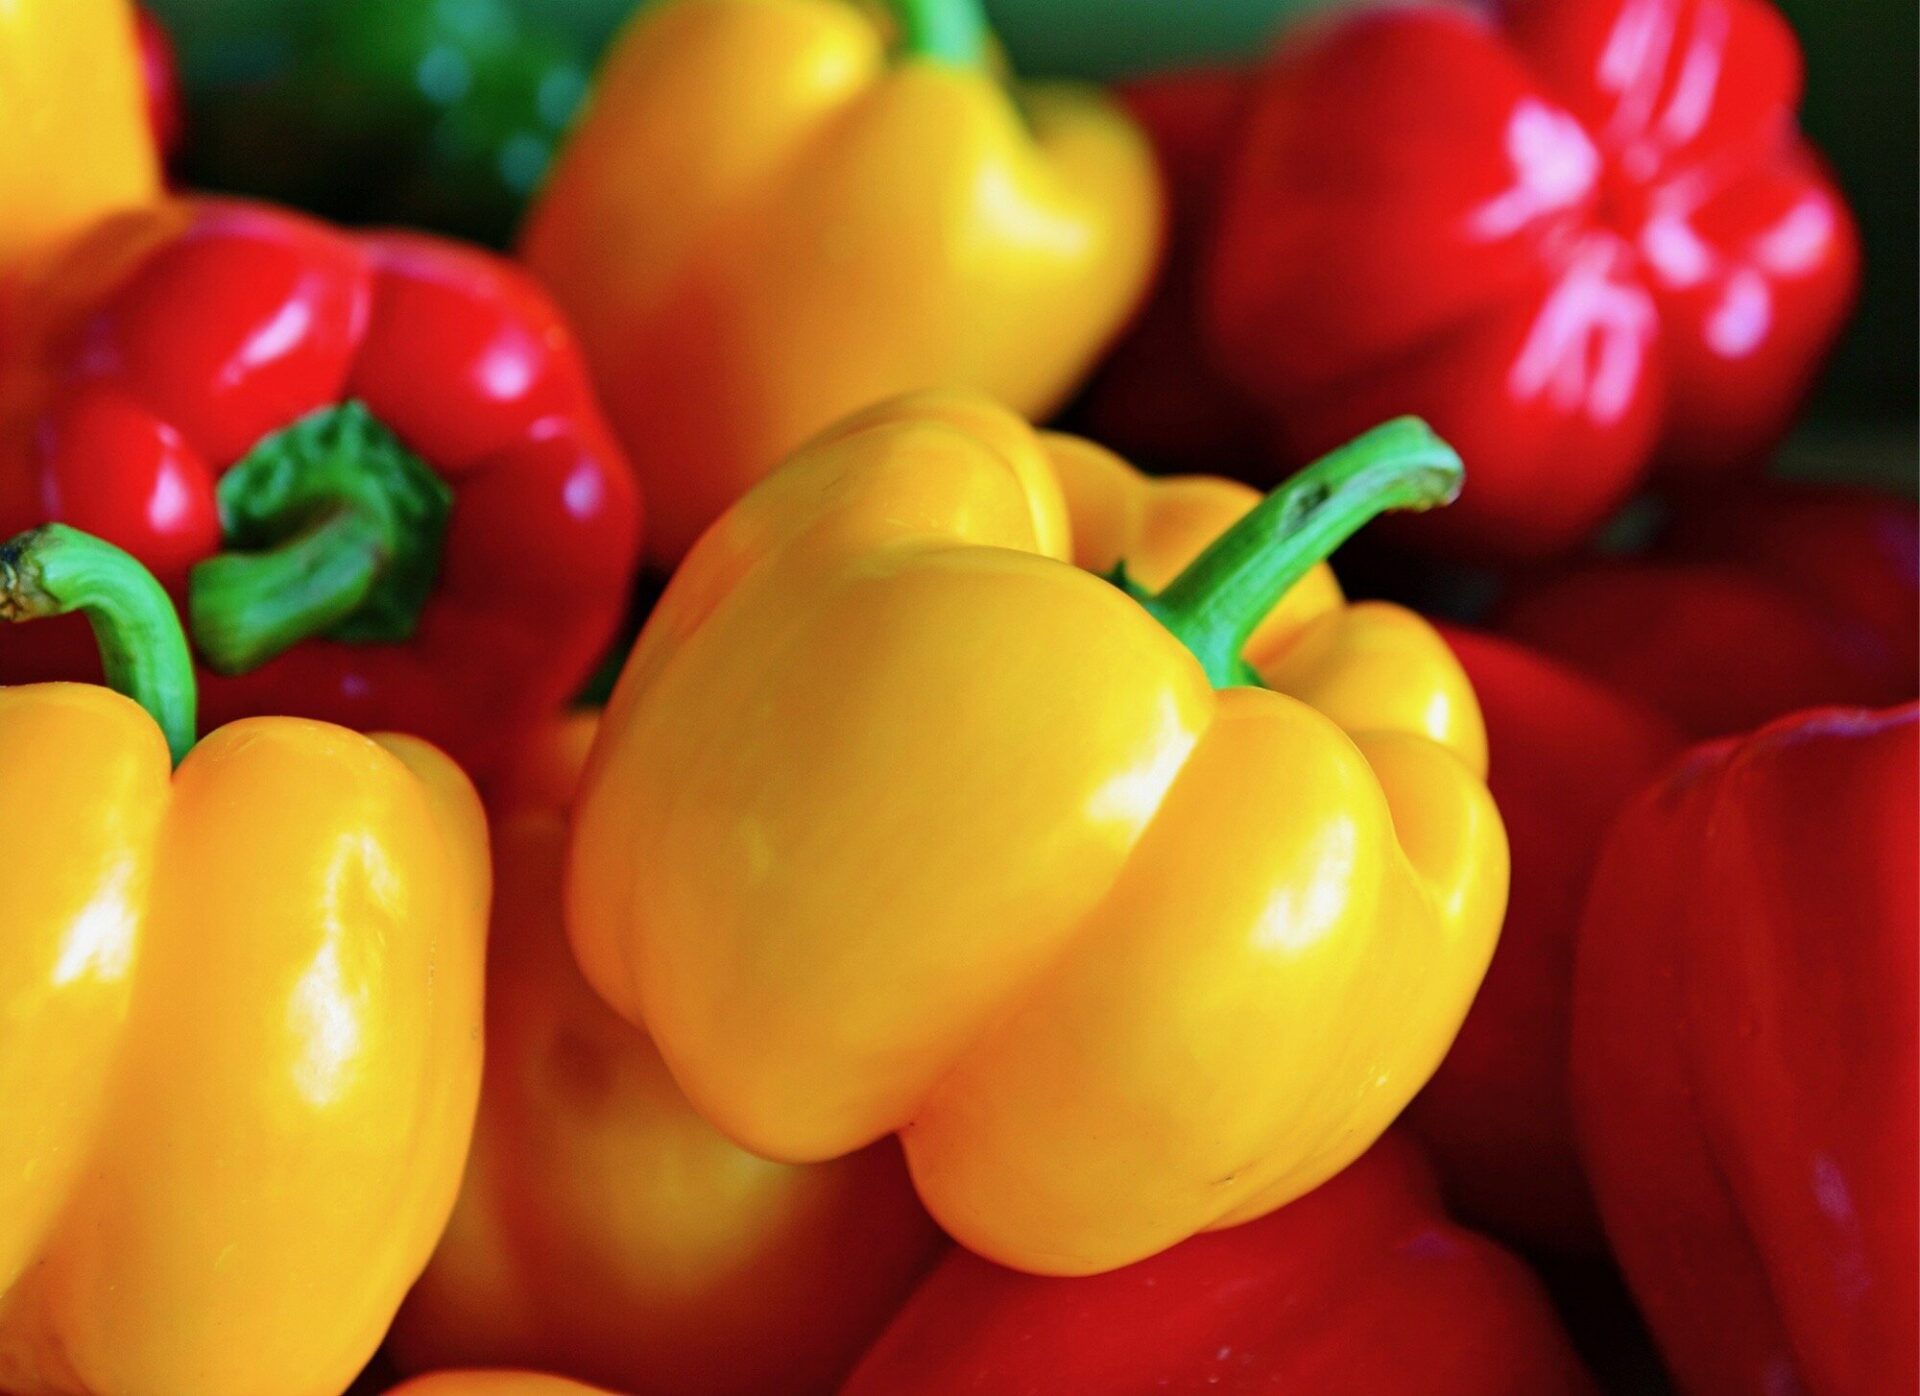
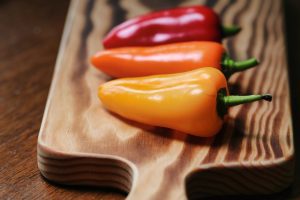
Sweet Pepper Slaw
Sweet pepper slaw is a crisp and colorful blend of shredded cabbage and sweet peppers, dressed in a tangy...
Read More