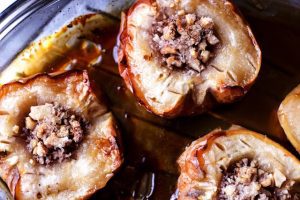
Apple Baked Squash
Savor the flavors of autumn with our apple baked squash. This delightful dish features tender squash filled with sweet and...
Read More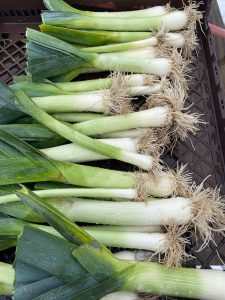
Vegan French-Style Braised Leeks
Crafting vegan French-style braised leeks is a culinary journey that’s delightfully simple and immensely gratifying. This dish highlights the leeks’...
Read More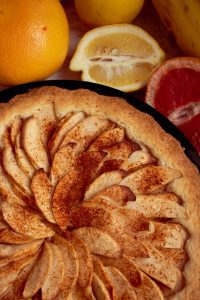
Easy Apple Galette
Apple galette is a delicious and rustic dessert that highlights the natural sweetness of apples in a simple yet delightful...
Read More