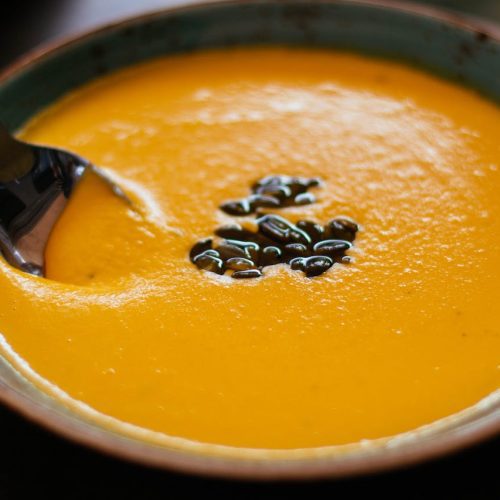
Capture the essence of autumn with our pasta featuring butternut squash and sage. This dish celebrates the season’s bounty with roasted squash and fresh sage from your garden. It’s a simple yet flavorful combination, highlighting the sweet richness of squash and the earthy aroma of sage. Whether enjoyed as a cozy meal or a hearty side, this dish brings the warmth of fall to your table in every bite.
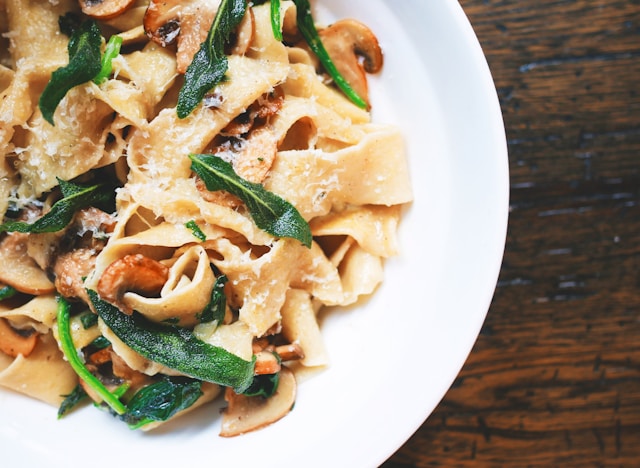
Pasta with Butternut Squash and Sage
Elevate your culinary prowess with a homemade paste featuring the vibrant duo of butternut squash and sage. Crafted from your garden's harvest, this flavorful blend promises a taste of autumn's finest.
Ingredients
- 2 medium butternut squash (peeled, seeds and fibers scooped out, cut into 1/2 inch cubes)
- 1 lb bow-tie pasta
- 4 tsp melted unsalted butter
- 1/2 cup chicken broth (homemade or low-sodium canned)
- 2 Tbsp PLUS 2 tsp chopped fresh sage
- 2.5 tsp salt
- 1 tsp freshly ground pepper (to taste)
- 3 Tbsp freshly grated Parmesan cheese
- 1/2 cup dry bread crumbs
Instructions
- Preheat the oven to 375 degrees. Place the squash on a baking sheet and roast until tender, about 25 minutes.
- Meanwhile, bring a large ovenproof pot of lightly salted water to the boil. Add the pasta and cook until al dente, about 11 minutes. Drain, rinse, and drain again.
- Lower the oven to 350 degrees. Place the pasta back in the pot and add the squash, butter, chicken broth, 2 Tbsp of sage, 2 tsp of salt, 1/2 tsp pepper and 2 Tbsp Parmesan. Toss to mix well.
- In a small bowl, combine the breadcrumbs, remaining 2 tsp sage, 1/2 tsp salt, 1 Tbsp Parmesan, and pepper to taste.
- Sprinkle the mixture over the top of the pasta. Bake for 15 minutes. Divide among 4 plates and serve immediately.
Notes
This recipe was published in the November 16, 1994 edition of NY Times Magazine. (pp 71-72)
This favorite recipe was contributed by a Backyard Eats client! She encourages home cooks to substitute ingredients as needed based their lifestyle or what's growing fresh in their garden.